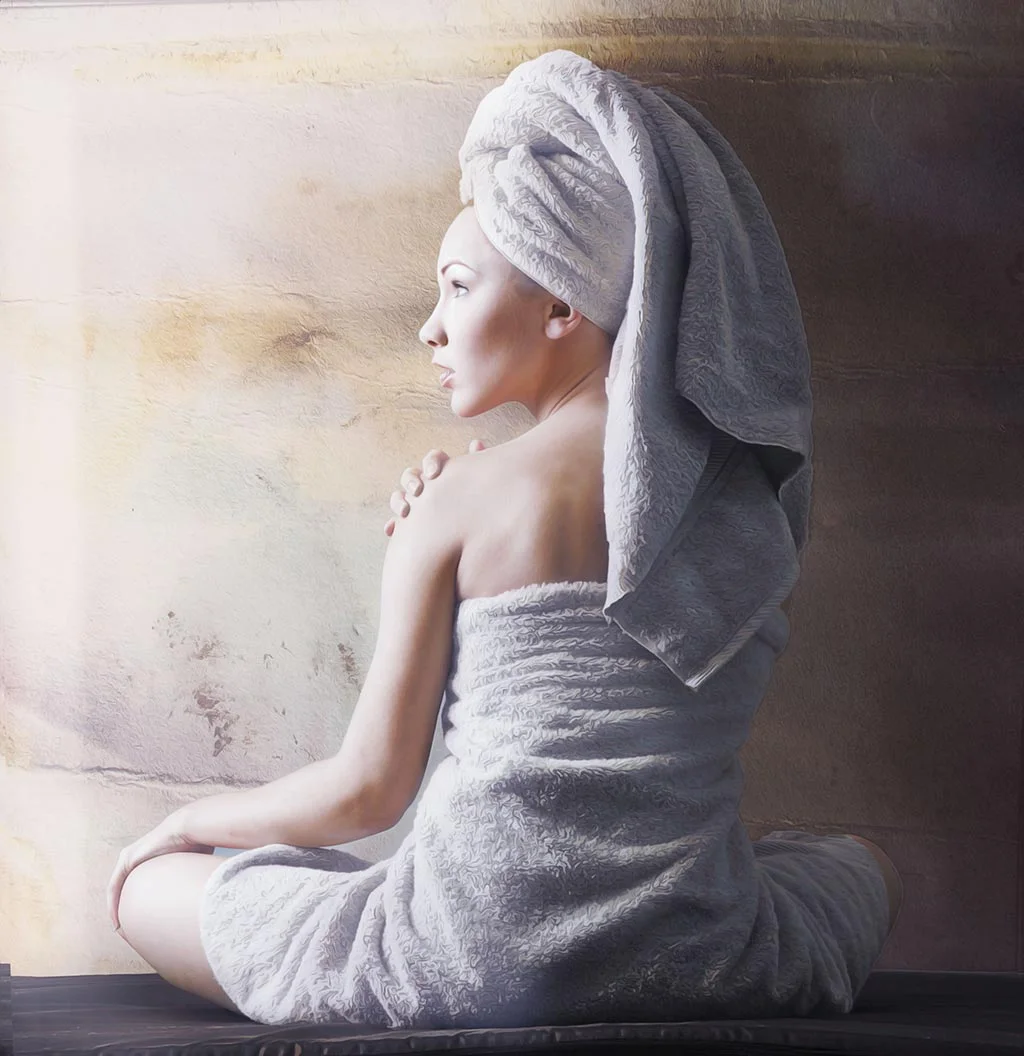
Contouring With Makeup For Killer Cheekbones
There’s nothing that exudes elegance quite like a set of razor sharp cheekbones, but before you find yourself turning green with envy over the Aphrodite-esque bone structure of Rosie Huntington Whitely, don’t forget that with the help of a professional makeup artist this is a look that almost anyone can achieve. By following just a few simple steps, you too will soon be highlighting and shading your way to finer features!
Kit List
• Your favourite Primer (we love Clarins Beauty Flash Balm)
• Bronzer in a shade that suits your skin tone
• Highlighter (Yves St Laurant Touche Elcait or similar)
• A light pink blusher
• A large, angled sculpting brush
• A blusher brush
Step 1:
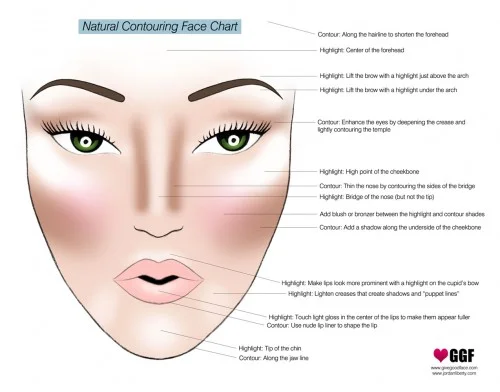
Prep and instantly brighten your skin by applying your chosen primer in dots along the tops of your cheekbones, the bridge of your nose your forehead and chin. Blend out using clean fingertips.
Step 2:
Using your angled, sculpting brush lightly apply Bronzer to the hollows of your cheeks, temples, jaw line and the sides and tip of your nose. Be very careful not to overdo this part otherwise you will end up with what looks like a very dodgy fake tan! Blend thoroughly until your have a naturally hollowed appearance.
Step 3:
The next step is where you highlight all of the areas that you want to bring out and emphasize, so be sure to apply your highlighter accurately and deliberately. Highlight pens (no, not the green one in your pencil case!) are extremely useful for spot on application, but if you choose to use a powder be sure to use the correct, angled brush for precision. Sweep along the tops of your cheekbones, brushing out from the apples of your cheeks to your temples. For an extra glow (and who wouldn’t want that?!) dab a little extra on your brow bone under each eyebrow, the bridge of your nose and even your cupids bow for a beautiful pout.
Step 4:
Take your blusher and blusher brush and gently dab onto the apples of your cheeks for a real, healthy pop! Again, don’t overdo it – you want this to look natural. Apply a little to start with, step back, check and build up gradually until you are happy with the result.
For best results of the contouring and sculpting makeup technique, you will need to tweak this tutorial slightly to suit your face shape.
Not sure what your correct face shape is? Scrape your hair right back so that you can clearly see the angles of your face; take an eyeliner or eyebrow pencil and draw a light line right the way around your face. Step back and take a look in the mirror and determine which face shape you are closest to: round, oval, square, diamond, heart, triangle or inverted triangle.
Still can’t figure it out? Ask a friend’s opinion once your have drawn the line – sometimes it is hard to see ourselves in a true light!